

Have you ever wondered how those intricate Presidential pins are designed with such precision and detail? How do designers bring together elements of history, symbolism, and aesthetics into a single emblem? How do the colors on the Presidential sash represent a nation?
We’ll show you how to make a Presidential pin with Adobe Illustrator in this article. You will learn everything you need to know about these pins, including how to use the tools and techniques in Illustrator, to create stunning artwork. Whether you are a seasoned designer looking for new challenges or a newcomer eager to learn everything there is to know about graphic design, this guide is for you.
Your creativity will be transformed as you embark on a journey to create intricate and meaningful Presidential pins that convey the essence of history and honor. Let’s get started on designing.
Understanding the Presidential Pin
In delving into the realm of Presidential pins, one must grasp the multifaceted tapestry of history, symbolism, and significance woven into these iconic emblems. At its essence, a Presidential pin transcends mere ornamentation; it embodies the ethos of leadership, patriotism, and authority. These pins serve as tangible expressions of honor and distinction, adorning the lapels of presidents and dignitaries alike with a subtle yet profound statement of identity and allegiance.
Understanding the Essence: To comprehend the essence of a Presidential pin is to unravel the threads of its symbolism. It stands not only as a decorative accessory but as a potent symbol of authority, representing the highest office in the land and the weighty responsibilities it entails.
Symbolism and Importance: The symbolism imbued within Presidential pins is rich and multifaceted. Each element meticulously crafted into its design carries layers of meaning, from the majestic eagle symbolizing strength and resilience to the stars and stripes evoking the ideals of liberty and democracy.
Historical Context: To fully appreciate the significance of Presidential pins, one must contextualize their evolution within the annals of history. Dating back to the early days of the Republic, these pins have served as tokens of esteem and allegiance, evolving in design and symbolism alongside the changing tides of American politics and culture. From the intricately detailed pins of the 19th century to the sleek and modern designs of the present day, each iteration reflects the zeitgeist of its era while retaining a timeless aura of authority and prestige.
In dissecting the anatomy of a Presidential pin, we uncover not just a piece of jewelry, but a microcosm of American history and values. It is a symbol of continuity and tradition, a testament to the enduring legacy of leadership that defines the nation’s highest office. As we trace its lineage through the corridors of power and prestige, we gain a deeper appreciation for the role these humble adornments play in shaping the narrative of the presidency and the nation it represents.
Setting Up Adobe Illustrator
In navigating the intricate landscape of graphic design, mastering the tools of the trade is paramount. As we embark on the journey of setting up Adobe Illustrator, we delve into the very foundation upon which masterpieces are forged.
Introduction to Adobe Illustrator
At the helm of digital illustration stands Adobe Illustrator, a powerhouse of creativity and innovation. Renowned for its versatility and precision, Illustrator serves as the canvas upon which artists breathe life into their visions. From intricate logos to stunning vector graphics, the possibilities are as boundless as the imagination itself.
Creating a New Document
The first step in unleashing your creative potential is to create a new document in Adobe Illustrator, a blank canvas awaiting your artistic prowess. With a few simple clicks, you can define the dimensions, resolution, and orientation of your canvas, laying the groundwork for your masterpiece to unfold. Whether crafting a poster, logo, or intricate illustration, the ability to tailor your workspace to suit your needs is a cornerstone of the design process.
Understanding the Workspace and Tools
As you acquaint yourself with the labyrinthine expanse of Adobe Illustrator’s workspace, familiarity with its myriad tools is indispensable. From the pen tool, wielded with precision akin to a calligrapher’s brush, to the versatile shape tools that lay the foundation for your designs, each instrument serves as a conduit for your creative expression. Familiarize yourself with the layers panel, a veritable command center for organizing and manipulating elements within your composition, and the swatches panel, where a kaleidoscope of colors awaits to breathe life into your creations. Embrace the power of gradients, brushes, and effects, each offering a plethora of possibilities to elevate your designs to new heights.
In mastering the art of setting up Adobe Illustrator, we embark on a voyage of discovery and innovation. With each stroke of the pen and click of the mouse, we inch closer to realizing our artistic vision, guided by the boundless potential of this indispensable tool. So, dear reader, let us delve into the depths of creativity and unlock the full spectrum of possibilities that await within the digital realm of Adobe Illustrator.
Gathering Resources
In the intricate dance of design, the initial step lies in the meticulous curation of resources, laying the groundwork upon which creative brilliance may flourish. As we embark on the journey of gathering resources for crafting Presidential pins in Adobe Illustrator, we navigate a landscape defined by precision, symbolism, and legal compliance.
Finding Reference Images of Presidential Pins
The quest for inspiration begins with the search for reference images of Presidential pins, a journey through the annals of history and design. Through online archives, museum collections, and historical records, we unearth a treasure trove of images spanning the epochs of American leadership. Each pin tells a story, from the ornate designs of yesteryear to the sleek and modern iterations of today, offering insights into the evolution of presidential symbolism and aesthetics.
Collecting Design Elements
With reference images as our compass, we set sail on the seas of design, collecting elements such as flags, seals, and emblems to enrich our compositions. From the stars and stripes of Old Glory to the majestic eagle soaring on outstretched wings, each element serves as a building block in the creation of our Presidential pin masterpiece. Through careful selection and arrangement, we weave together a tapestry of symbolism and significance, honoring the legacy of the presidency and the ideals it represents.
Ensuring Copyright Compliance
In our quest for creative expression, we tread carefully upon the legal landscape, ensuring compliance with copyright laws and intellectual property rights. Through diligent research and adherence to best practices, we navigate the complexities of attribution and fair use, safeguarding against infringement and honoring the contributions of creators past and present. By respecting the rights of others, we uphold the integrity of our craft and foster a culture of respect and collaboration within the creative community.
As we gather resources for crafting Presidential pins in Adobe Illustrator, we embark on a journey of discovery and creativity, guided by the twin beacons of inspiration and integrity. Through the careful curation of reference images, the thoughtful selection of design elements, and the unwavering commitment to copyright compliance, we lay the foundation for artistic excellence and ethical practice. So, dear reader, let us journey forth into the boundless realm of design, where creativity knows no bounds and the spirit of innovation reigns supreme.
Sketching the Design
Embarking on the journey of design, sketching serves as the initial spark igniting the flames of creativity, laying the groundwork for masterpieces yet to come. As we delve into the process of sketching the design for Presidential pins, we navigate a landscape defined by imagination, innovation, and meticulous attention to detail.
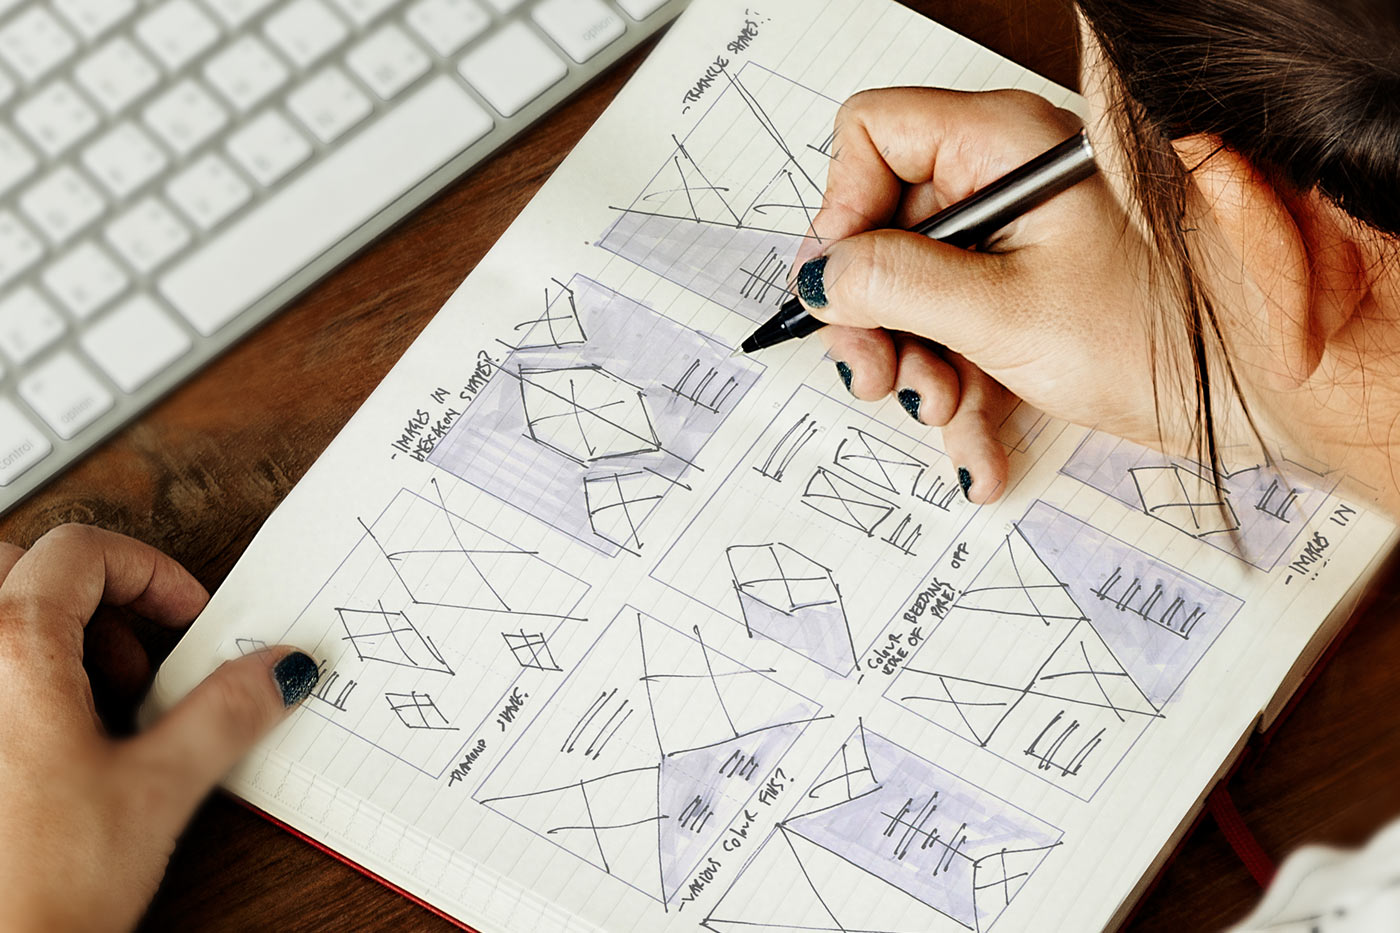
Sketching Ideas on Paper
The genesis of every great design begins with a humble sketch, a fleeting glimpse into the mind’s eye of the artist. Armed with pencil and paper, we unleash our creativity, allowing ideas to flow freely from hand to page. Through rough outlines and bold strokes, we explore myriad possibilities, each line a testament to the boundless potential of the creative spirit. With each sketch, we refine our vision, honing in on the essence of our design and breathing life into our aspirations.
Translating Sketches into Digital Form
As the sketches take shape on paper, we embark on the next phase of our journey: translating our analog creations into the digital realm. With Adobe Illustrator as our canvas, we wield the tools of technology to transform our hand-drawn sketches into precise, scalable designs. Through the magic of digital manipulation, we refine our lines, adjust our proportions, and imbue our creations with a level of polish and precision unattainable by traditional means. With each click of the mouse and stroke of the stylus, we bridge the gap between the tangible and the virtual, bringing our visions to life in stunning detail.
Considering Symmetry and Balance in the Design
As we breathe life into our digital creations, we must not overlook the principles of symmetry and balance that underpin every great design. With a keen eye and a steady hand, we strive to achieve harmony in every element of our composition, balancing form and function with elegance and grace. Through careful manipulation of shapes, colors, and proportions, we craft designs that are not only visually striking but also inherently balanced and cohesive. Whether mirroring elements along a central axis or subtly adjusting weights and proportions, we seek to create designs that resonate with beauty and symmetry, captivating the eye and stirring the soul.
In the art of sketching the design for Presidential pins, we find ourselves on a journey of discovery and creation, guided by the twin beacons of imagination and innovation. Through the humble act of sketching, we breathe life into our ideas, giving form to the intangible and shape to the abstract. As we translate our sketches into digital form and imbue them with symmetry and balance, we pave the way for designs that transcend mere ornamentation, becoming timeless symbols of artistry and ingenuity. So, dear reader, let us embark on this journey together, as we explore the boundless possibilities of design and forge a path to greatness in the digital realm.
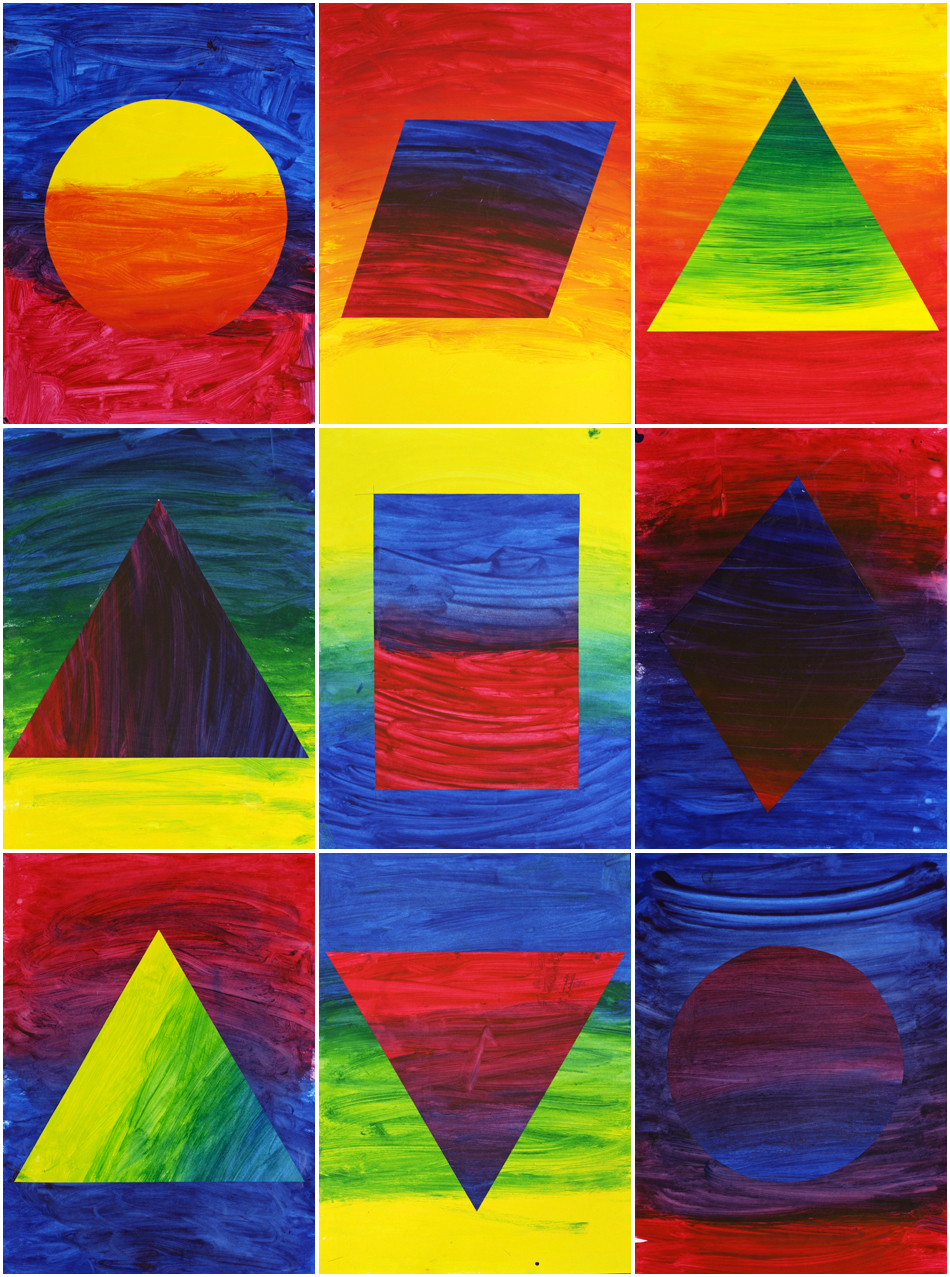
Creating Basic Shapes
In the realm of digital design, the creation of basic shapes serves as the cornerstone upon which intricate compositions are built, laying the foundation for artistic brilliance to unfold. As we delve into the process of creating basic shapes in Adobe Illustrator for crafting Presidential pins, we embark on a journey defined by precision, versatility, and boundless creativity.
Using Shapes Tools in Adobe Illustrator
With Adobe Illustrator as our digital playground, we harness the power of shape tools to sculpt our designs with unparalleled precision. Through the intuitive interface of Illustrator, we navigate a vast arsenal of tools, from rectangles and circles to polygons and stars, each offering a wealth of possibilities for creative expression. With a simple click and drag, we summon shapes into existence, molding them to our will with the finesse of a sculptor shaping clay. Whether crafting the circular backdrop of a Presidential seal or the angular contours of an American flag, the shape tools of Illustrator provide the building blocks upon which our designs take shape.
Drawing the Outline of the Pin
As we chart the course of our design, the drawing of the outline serves as our guiding star, defining the boundaries within which our creative vision will unfold. With the pen tool as our trusty companion, we trace the contours of our design with meticulous precision, carving out shapes and silhouettes with the steady hand of a master craftsman. Each line drawn is a stroke of inspiration, imbuing our composition with depth and dimension as we breathe life into our digital canvas. With each curve and contour, we refine our outline, sculpting it into a masterpiece of form and function that will serve as the framework for our final creation.
Adding Basic Shapes for Elements of the Design
With the outline in place, we turn our attention to the finer details, adding basic shapes to embellish our composition with layers of complexity and nuance. Whether it be the bold stripes of the American flag or the intricate details of the Presidential seal, each element is meticulously crafted using a combination of shapes, lines, and curves. Through careful arrangement and manipulation, we weave together a tapestry of symbols and motifs, each contributing to the rich tapestry of our design. With a keen eye for symmetry and balance, we ensure that each shape harmonizes with the next, creating a cohesive and visually captivating composition that pays homage to the storied tradition of Presidential pin design.
In the art of creating basic shapes in Adobe Illustrator, we find ourselves at the nexus of artistry and technology, where the boundless possibilities of digital design intersect with the timeless principles of form and function. Through the judicious use of shape tools, the careful drawing of outlines, and the strategic placement of basic shapes, we bring our creative vision to life in stunning detail. So, dear reader, let us continue on this journey of exploration and innovation, as we unlock the full potential of Adobe Illustrator and chart a course to design excellence in the digital realm.
Adding Details and Text

In the intricate realm of design, the devil is truly in the details, and it is in the artful incorporation of these intricate details that the true essence of a design is revealed. As we delve into the process of adding details and text to our Presidential pin designs in Adobe Illustrator, we embark on a journey defined by precision, craftsmanship, and a keen eye for the finer points of composition.
Incorporating Intricate Details
In the world of design, it is often said that beauty lies in the details, and nowhere is this more evident than in the art of crafting Presidential pins. From the intricate scrollwork of a presidential seal to the delicate shading of a national emblem, each detail serves to elevate the design, adding depth, texture, and visual interest to the finished product. With Adobe Illustrator as our canvas, we wield a digital brush with unparalleled precision, painstakingly adding layer upon layer of detail until our composition comes to life in stunning clarity and depth.
Adding Text Elements
In addition to the visual elements of our design, the inclusion of text serves as a critical component in conveying meaning and context to the viewer. Whether it be the title of “President” emblazoned across the pin or the words “United States” proudly displayed beneath a national emblem, the careful selection and placement of text elements play a crucial role in shaping the narrative of our design. With a deft hand and a discerning eye, we choose fonts that evoke authority and gravitas, ensuring that our text elements complement the overall aesthetic of the pin while maintaining readability and clarity.
Ensuring Readability and Clarity
As we add the finishing touches to our Presidential pin designs, we must remain ever mindful of the importance of readability and clarity in communicating our message to the viewer. Through strategic placement and thoughtful arrangement of elements, we strive to create designs that are not only visually stunning but also easily comprehensible at a glance. Whether it be adjusting the size and spacing of text elements for optimal legibility or fine-tuning the contrast and saturation of colors for maximum impact, every decision we make is guided by a commitment to ensuring that our designs are both visually appealing and readily understandable to all who behold them.
In the realm of design, the art of adding details and text to our creations is both a science and an art, requiring equal parts technical skill and creative vision. Through the meticulous incorporation of intricate details, the strategic placement of text elements, and a steadfast dedication to readability and clarity, we bring our Presidential pin designs to life in a symphony of color, form, and meaning. So, dear reader, let us continue on this journey of exploration and creation, as we unlock the full potential of Adobe Illustrator and craft designs that inspire, inform, and captivate the imagination.
Using Colors and Gradients
In the realm of graphic design, the strategic use of colors and gradients serves as a powerful tool for evoking emotion, conveying meaning, and creating visual impact. As we delve into the process of using colors and gradients to craft Presidential pins in Adobe Illustrator, we embark on a journey of artistic expression, guided by principles of harmony, balance, and aesthetic appeal.
Choosing Appropriate Colors for the Pin
The selection of colors for a Presidential pin is a decision fraught with significance, as each hue carries with it layers of symbolism and connotation. From the regal hues of red, white, and blue to the stately shades of gold and silver, the colors chosen must reflect the dignity and gravitas befitting the office of the President. With Adobe Illustrator’s vast palette at our fingertips, we explore a myriad of options, considering not only the aesthetic appeal of each color but also its historical and cultural significance. Through careful deliberation and thoughtful consideration, we choose colors that resonate with the spirit of the Presidency, imbuing our designs with a sense of authority, patriotism, and timeless elegance.
Applying Gradients for Depth and Dimension
As we seek to breathe life into our designs, gradients emerge as a powerful tool for adding depth, dimension, and visual interest. With Adobe Illustrator’s gradient tool, we harness the power of light and shadow to create dynamic compositions that leap off the page. Whether it be the subtle transition from light to dark to create the illusion of volume or the bold interplay of contrasting colors to evoke a sense of drama and excitement, gradients offer endless possibilities for creative expression. With a deft hand and a keen eye, we apply gradients with precision, sculpting our designs into multi-dimensional works of art that captivate the imagination and engage the senses.
Creating Color Harmony Within the Design
In the art of design, color harmony is the key to creating compositions that are visually pleasing and emotionally resonant. As we craft our Presidential pins, we pay careful attention to the interplay of colors, striving to achieve a harmonious balance that delights the eye and stirs the soul. Through the use of color theory principles such as complementary, analogous, and triadic color schemes, we orchestrate a symphony of hues that work in concert to convey a unified message and evoke a specific mood or feeling. With each color choice informed by careful consideration and deliberate intention, we create designs that are not only aesthetically pleasing but also imbued with layers of meaning and significance that resonate with viewers on a profound level.
In the realm of graphic design, the strategic use of colors and gradients is both a science and an art, requiring equal parts technical skill and creative intuition. Through the thoughtful selection of colors, the judicious application of gradients, and a steadfast commitment to color harmony, we bring our Presidential pin designs to life in a kaleidoscope of hues that captivate the imagination and inspire the soul. So, dear reader, let us continue on this journey of exploration and creation, as we unlock the full potential of Adobe Illustrator and craft designs that are as timeless and iconic as the office of the Presidency itself.
Adding Effects and Embellishments
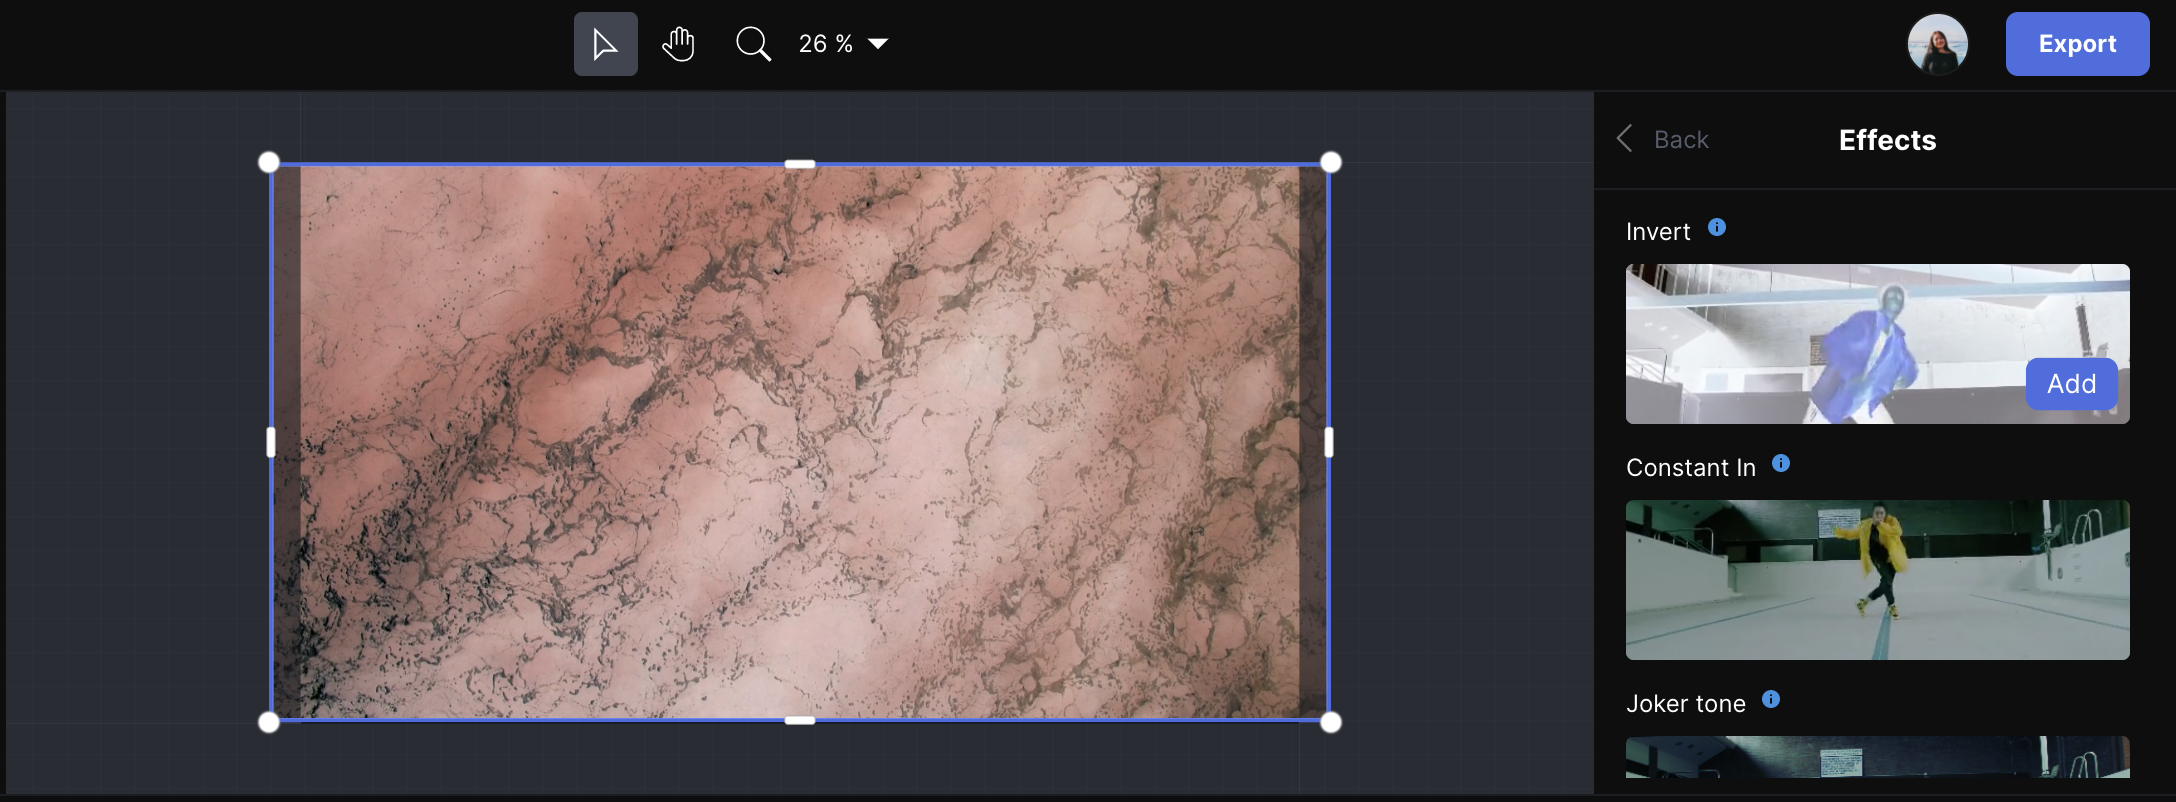
In the realm of graphic design, the art of adding effects and embellishments to digital creations serves as the proverbial icing on the cake, elevating designs from mere images to immersive visual experiences. As we delve into the process of adding effects and embellishments to Presidential pin designs in Adobe Illustrator, we embark on a journey of creativity, innovation, and attention to detail, striving to bring our designs to life in stunning detail and realism.
Adding Shadows and Highlights for Realism
Shadows and highlights are the secret ingredients that lend a sense of depth, dimension, and realism to our designs, imbuing them with a sense of authenticity and tactile quality. With Adobe Illustrator’s robust suite of tools and features, we harness the power of light and shadow to create dynamic compositions that leap off the page. Through the careful application of gradients, opacity adjustments, and blending modes, we sculpt our designs into multi-dimensional works of art, with each shadow and highlight meticulously placed to enhance the overall composition and evoke a sense of realism that captivates the viewer’s imagination.
Incorporating Metallic Effects for Authenticity
Metallic effects add a touch of luxury and sophistication to our designs, evoking the timeless elegance of precious metals such as gold, silver, and bronze. With Adobe Illustrator’s metallic gradient swatches and custom brush tools, we simulate the luster and sheen of metallic surfaces, creating designs that gleam and shimmer with an air of opulence and refinement. Whether it be the glint of sunlight on a polished surface or the rich patina of aged metal, metallic effects lend our designs a sense of authenticity and prestige that commands attention and admiration.
Enhancing the Design with Textures and Patterns
Textures and patterns add visual interest and complexity to our designs, transforming flat surfaces into rich tapestries of color, texture, and pattern. With Adobe Illustrator’s vast library of textures and patterns, we explore a world of possibilities, from the intricate weave of fabric to the organic patterns found in nature. Through the strategic application of textures and patterns, we imbue our designs with a sense of depth and dimension, creating compositions that are as visually engaging as they are aesthetically pleasing. Whether it be the subtle grain of wood or the bold geometric patterns of Art Deco design, textures and patterns serve as the finishing touch that elevates our designs to new heights of artistic excellence.
In the world of graphic design, the art of adding effects and embellishments is a delicate balancing act, requiring a keen eye for detail, a mastery of technique, and a deep understanding of visual aesthetics. Through the judicious use of shadows and highlights, the strategic incorporation of metallic effects, and the artful application of textures and patterns, we bring our Presidential pin designs to life in a symphony of color, texture, and light that captivates the senses and stirs the soul. So, dear reader, let us continue on this journey of exploration and creation, as we unlock the full potential of Adobe Illustrator and craft designs that are as breathtakingly beautiful as they are authentically inspired.
Reviewing and Refining
In the intricate process of creating Presidential pins in Adobe Illustrator, the journey doesn’t culminate with the final stroke of the digital brush. Instead, it continues with the crucial step of reviewing and refining the design, ensuring that every detail is meticulously crafted to perfection. As designers, we understand the importance of stepping back to evaluate the overall design, taking stock of its strengths and weaknesses, and identifying areas for improvement. This process requires a discerning eye and a willingness to be critical of our own work, as we strive to create designs that are not only visually striking but also conceptually sound.
Stepping Back to Evaluate the Overall Design
After hours spent immersed in the creative process, it’s essential to take a step back and view the design with fresh eyes. This allows us to assess the composition as a whole, considering factors such as balance, symmetry, and visual hierarchy. We ask ourselves questions such as: Does the design effectively communicate its intended message? Is the layout cohesive and easy to navigate? Are there any elements that detract from the overall aesthetic? By evaluating the design from a holistic perspective, we gain valuable insights that inform our next steps in the refinement process.
Making Necessary Adjustments and Refinements
With a critical eye and a commitment to excellence, we proceed to make necessary adjustments and refinements to the design. This may involve tweaking color palettes, fine-tuning typography, or adjusting the placement of elements to improve visual flow. We approach this process with a spirit of experimentation and openness to new ideas, recognizing that the path to perfection is paved with iteration and refinement. Each adjustment is made thoughtfully and deliberately, with the goal of enhancing the overall impact and effectiveness of the design.
Seeking Feedback from Peers or Mentors
In addition to self-evaluation, we recognize the value of seeking feedback from peers or mentors who can offer fresh perspectives and constructive criticism. This collaborative approach allows us to benefit from the collective wisdom and experience of others, gaining valuable insights that may not have occurred to us on our own. Whether through informal brainstorming sessions, design critiques, or one-on-one mentorship, we welcome feedback as an opportunity for growth and improvement. By remaining receptive to feedback and incorporating constructive suggestions into our work, we elevate the quality of our designs and continue to push the boundaries of our creative potential.
In the world of graphic design, the process of reviewing and refining is an essential part of the creative journey, ensuring that our designs meet the highest standards of quality and craftsmanship. Through careful evaluation, thoughtful adjustments, and a willingness to seek feedback from others, we strive to create designs that not only meet the needs of our clients but also inspire and delight audiences around the world. So, dear reader, let us continue on this journey of exploration and refinement, as we unlock the full potential of Adobe Illustrator and push the boundaries of our creativity to new heights.
Exporting the Final Design
In the final stages of the intricate design process, the task of exporting the final design from Adobe Illustrator marks the culmination of countless hours of creativity, precision, and attention to detail. This pivotal step involves more than simply saving the file; it encompasses a series of crucial considerations aimed at ensuring the seamless transition from digital concept to tangible reality. As designers, we understand the importance of saving the file in various formats to accommodate diverse needs and preferences, whether for print or digital use. This may include formats such as PDF, EPS, SVG, or PNG, each serving a distinct purpose and offering unique advantages in terms of compatibility and versatility.
Saving the File in Various Formats
To meet the diverse needs of our clients and collaborators, we save the final design in a range of formats, ensuring compatibility across different platforms and applications. From high-resolution print-ready files to web-friendly formats optimized for online use, each format is carefully selected to maximize accessibility and ease of use. By providing multiple file options, we empower our clients to seamlessly integrate the design into their projects, whether for marketing materials, websites, or merchandise.
Preparing the Design for Print or Digital Use
In addition to selecting the appropriate file formats, we take meticulous care to prepare the design for its intended use, whether for print or digital applications. For print projects, this may involve adjusting color profiles, setting print bleeds, and ensuring proper resolution to achieve optimal print quality. For digital applications, we optimize the design for web display, considering factors such as file size, image compression, and compatibility with various web browsers and devices. By tailoring the design to specific output requirements, we ensure a seamless transition from concept to execution, with results that exceed expectations.
Ensuring Compatibility with Production Requirements
Beyond file formats and output specifications, we also consider the production requirements associated with bringing the design to life. Whether collaborating with printers, manufacturers, or other production partners, we communicate effectively to ensure that the design meets all technical specifications and workflow requirements. This may include providing color swatches, specifying Pantone colors for accurate color reproduction, or adjusting file settings to accommodate specific printing or manufacturing processes. By proactively addressing potential production challenges, we streamline the production process and minimize the risk of errors or delays.
In the dynamic world of graphic design, the task of exporting the final design represents the culmination of creativity, technical expertise, and meticulous attention to detail. By saving the file in various formats, preparing the design for print or digital use, and ensuring compatibility with production requirements, we empower our clients to bring their vision to life with confidence and clarity. So, dear reader, let us continue on this journey of creativity and innovation, as we harness the power of Adobe Illustrator to create designs that inspire, engage, and captivate audiences around the world.
Additional questions and answers
- What are the steps to design a presidential badge in Adobe Illustrator?
To design a presidential badge in Adobe Illustrator, follow these steps:
- Research and gather reference images of presidential badges.
- Sketch design ideas on paper before translating them into digital form.
- Use Adobe Illustrator’s shape tools to create the badge outline.
- Add intricate details, text elements, and appropriate colors.
- Apply gradients, shadows, and highlights for depth and realism.
- Incorporate metallic effects, textures, and patterns for authenticity.
- Review the design for symmetry, balance, and readability.
- Make necessary adjustments and refinements.
- Export the final design in various formats for print or digital use.
- Ensure compatibility with production requirements and seek feedback from peers or mentors.
- How can I create a presidential pin using Adobe Illustrator?
To create a presidential pin using Adobe Illustrator, follow these steps:
- Research and gather reference images of presidential pins for inspiration.
- Sketch out your design ideas on paper to plan the layout and elements.
- Open Adobe Illustrator and create a new document.
- Use the shape tools to create the base shape of the pin.
- Add intricate details, such as flags, seals, or emblems, using the pen tool or shape tools.
- Incorporate text elements like “President” or “United States” using the text tool.
- Experiment with colors and gradients to enhance the design’s visual appeal.
- Add shadows, highlights, and other effects to create depth and dimension.
- Review and refine the design, making any necessary adjustments.
- Export the final design in the appropriate format for production or sharing.